Saturday, May 31, 2014

A Heavenly Scent

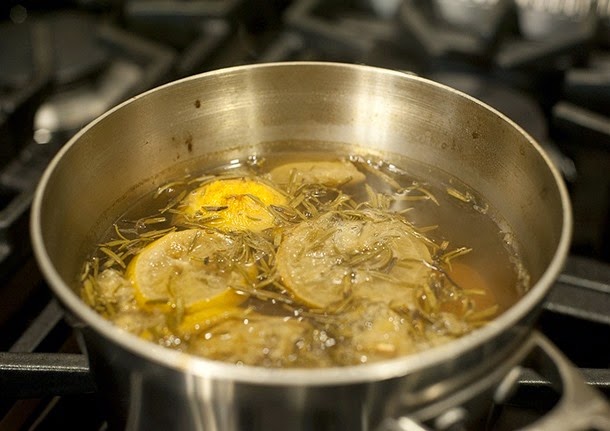
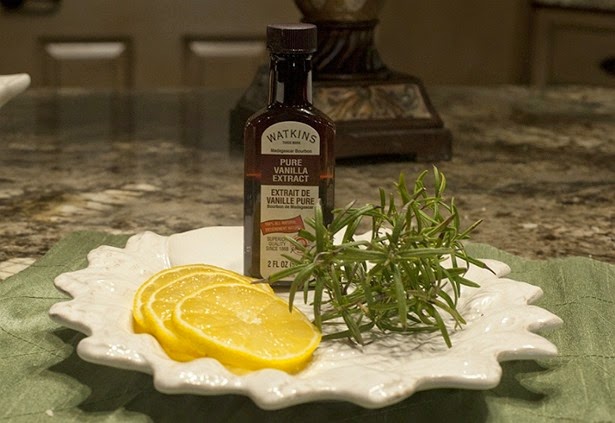
Last year when I was a new Pinterest addict I discovered a simmering scent recipe online and decided to give it a try. I purchased the herb rosemary at the grocery store, a bottle of inexpensive imitation vanilla extract and a few lemons. (You needn’t purchase expensive vanilla since the cheap stuff works beautifully) I’ve read that the scent is often used in the William Sonoma store to give it a homey feel. Not sure if that’s true, but it sure smells lovely in our home when I have it simmering.

DSC_5169-028

Recipe: Three sprigs of fresh rosemary. One lemon sliced into rounds. One to two teaspoons of vanilla. Place in a pot of water and simmer.

DSC_5165-027

It really does smell delicious, I loved it so much it prompted me to purchase a rosemary plant and get it started in my garden. I often simmer the same pot for a few days, a few hours each day, before tossing it out and replenishing the ingredients.

DSC_5156-021

Heavenly Scent

I like to chop the rosemary up a little as I find it puts out a lot more of the scent of the herb that way. Its such a simple way to add a lovely touch to a home. I think packaging the ingredients in a creative way and giving as a little gift along with the ‘recipe’ on a pretty card would be lovely for a bridal shower in addition to your ‘formal’ gift or as a hostess gift when attending a dinner party. I will definitely be looking for fun ways to package it up to share.

Give it a try, I have a feeling you will also love it!

Country Herb Garden

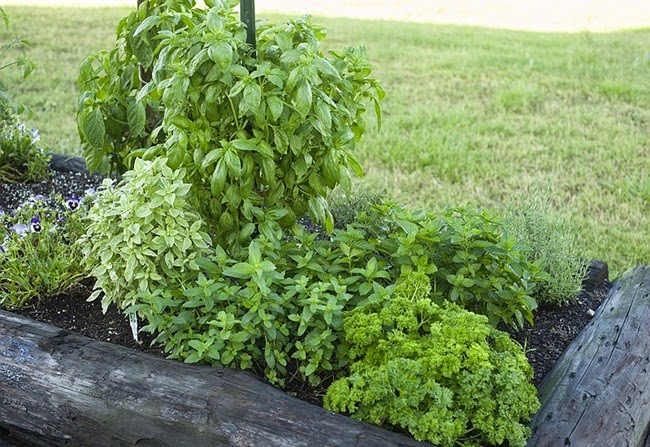
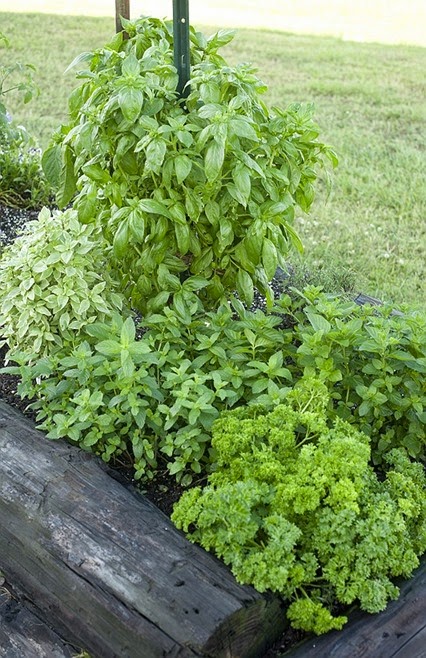
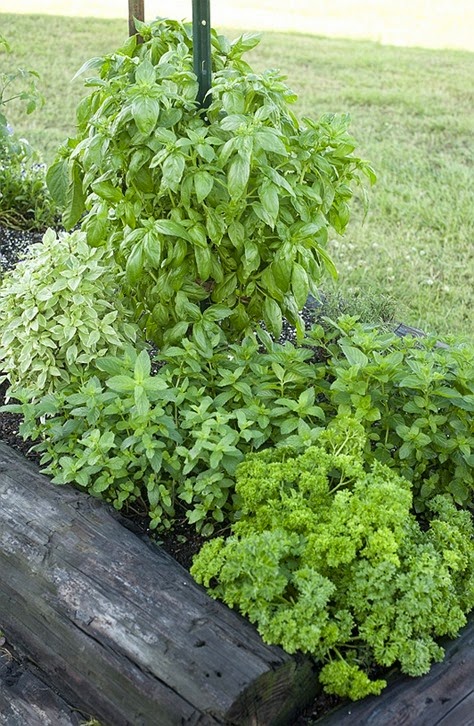
Last year I had a lone rosemary bush, one curly leaf parsley plant and a basil plant in my little raised bed where I also grew a few tomatoes and bell pepper plants. I really grew it because I love the smell of rosemary simmering with lemon and vanilla on the stove, it truly makes the entire house smell divine. This year I also planted variegated basil, spearmint, peppermint and a lavender plant in addition to a new parsley and basil plant. The rosemary survived the winter, Dave moved it in the bed and its taken a while for it to get re-established but its doing pretty good.

DSC_5150-015

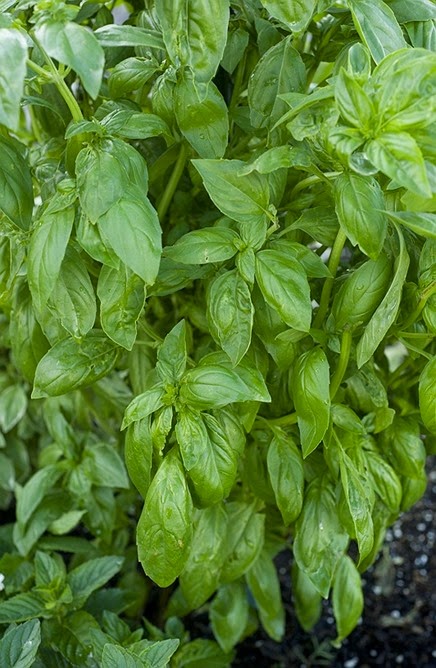
The basil plant is about two feet high and I’ve been pruning flowers off of it for a few days now to keep it from getting bitter. And I have already chopped quite a bit of parsley, putting some into my smothered squash and zucchini dishes. I’ve also put a bit of it into the freezer for later use. I’m not sure what I’ll do with all the spearmint and peppermint since I’m not a big tea drinker and am not a fan of Mojitos. I’m going to have to do a bit of research on that one!

DSC_5152-017

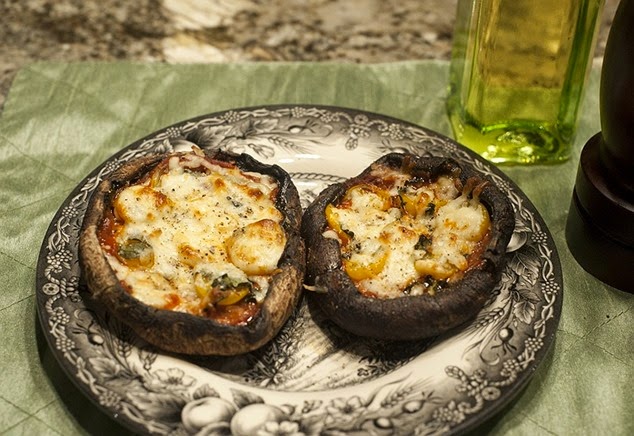
My basil was sweet and delicious tonight in the Portobello mushroom pizzas I made for Dave, Erica and myself. Simply delicious and I know we’ll enjoy it in lots of summer dishes.

DSC_5153-018

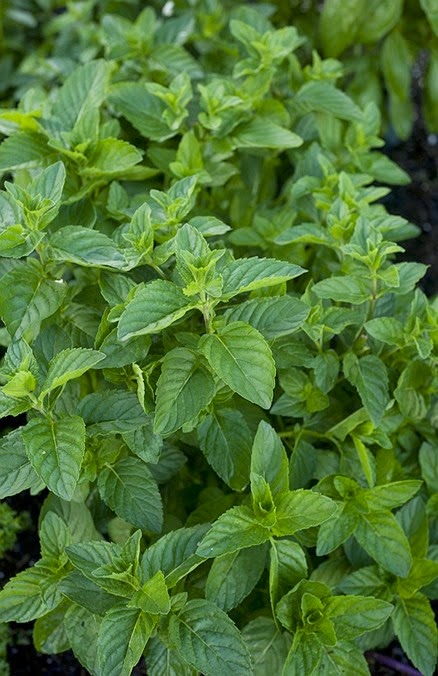
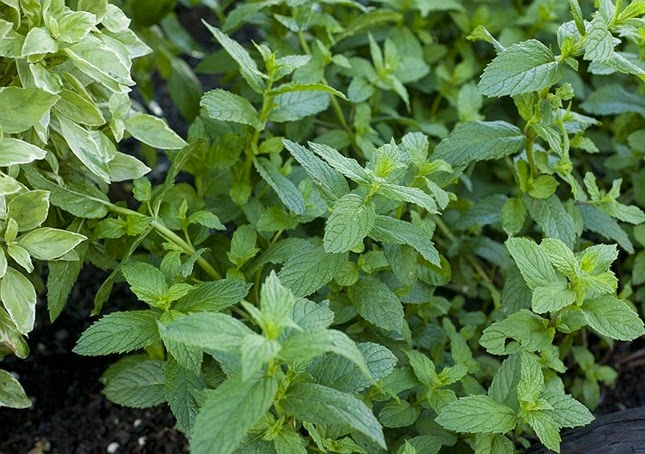
Both my spearmint and peppermint are thriving with the last few days of rain. They smell divine and are so vibrant and healthy!

DSC_5158-023

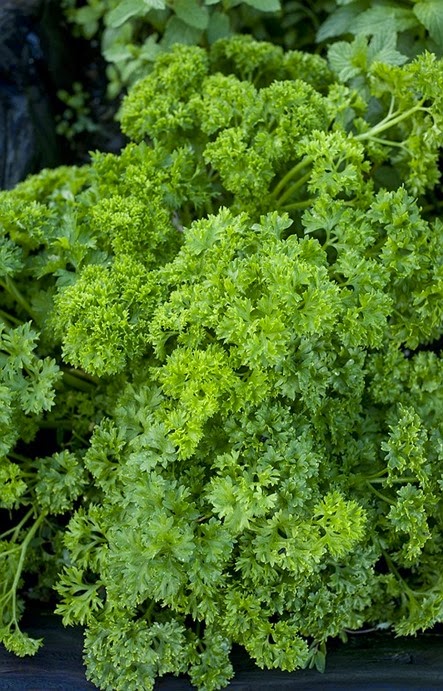
This curly leaf parsley plant will supply all the parsley I need this summer. I can’t imagine running out, I’ve cut this plant back three times already!

DSC_5154-019

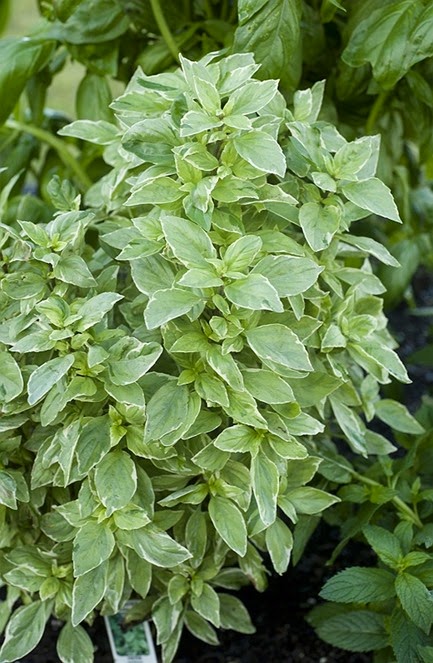
The variegated basil is growing nicely, not as big as the other basil plant but the leaves are tender and a little bit more peppery. I love the mix of green and white on this plant.

DSC_5157-022

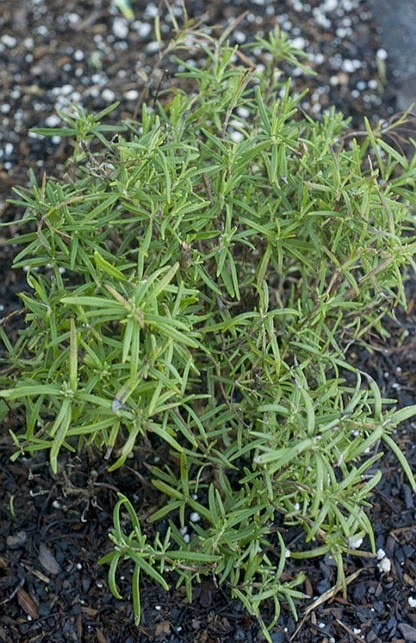
This sweet little rosemary bush is the one Dave transplanted, its coming back nicely and I hope that it flourishes and grows into a nice large plant. I use it exclusively for the beautiful aroma as it wafts through the house as I simmer it.

DSC_5156-021

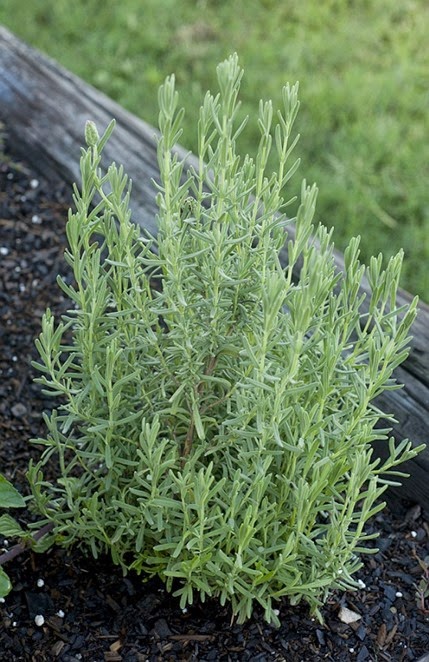
And lastly but certainly not least, the sweet little lavender plant. There are a few new flowers just beginning to bud and I love rubbing my hands through the plant making them smell amazing. I’m going to read up on drying it and using it to scent drawers and discover other ways I can use it to scent our home.

DSC_5155-020

If any of you have ideas on ways to use lavender, please let me know! I’d really appreciate it! Happy Sunday tomorrow everyone!

DSC_5151-016

Portobello Mushroom Pizza


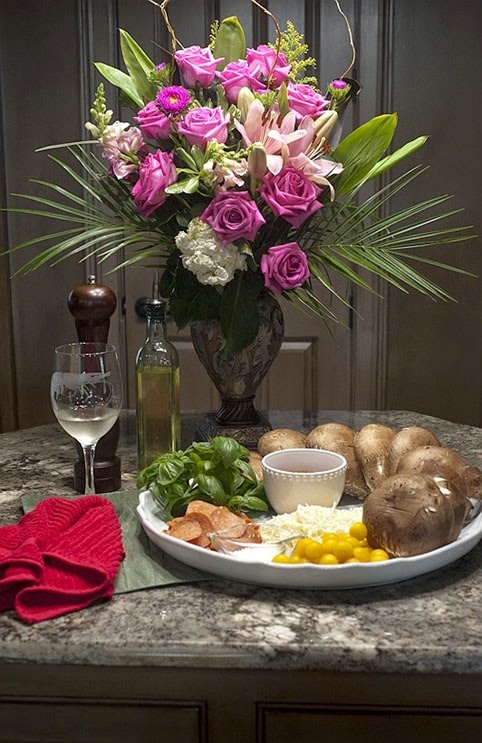
DSC_5182-037

My husband Dave and I have been on a journey to eating healthier and living without an abundance of carbohydrates in our diet aside from what we get in our fresh fruit, vegetables, fat free milk and protein supplements. Oh and the occasional glass of wine! It made the meal prep relaxing and enjoyable for me tonight!
DSC_5132-002

On this quest to finding delicious recipes that I can make to tantalize our taste buds and still eat healthily I came across quite a few versions of Portobello mushroom pizza. Each one interesting and delightful sounding and not too difficult to make.
DSC_5151-016

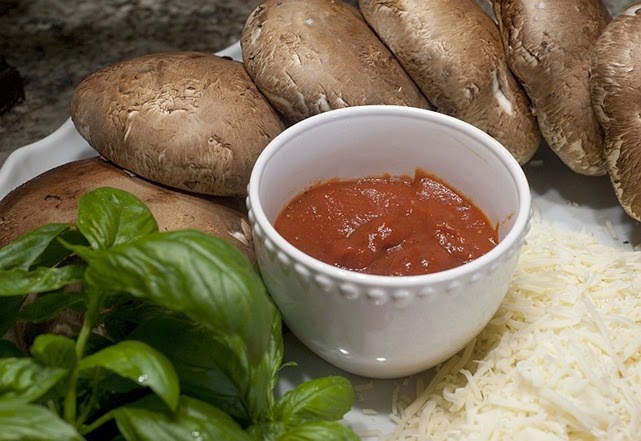
I adjusted the recipes I found online to suit what I have on hand at the moment in our refrigerator and in my herb garden. I went out and picked some fresh basil after returning from the grocery store with my mushrooms and pre-made pizza sauce, which were the only things I didn’t already have available in the house. My herb garden is flourishing with the rain we’ve had in the last few days and I’m going to have to start sharing the abundance soon!
DSC_5137-006

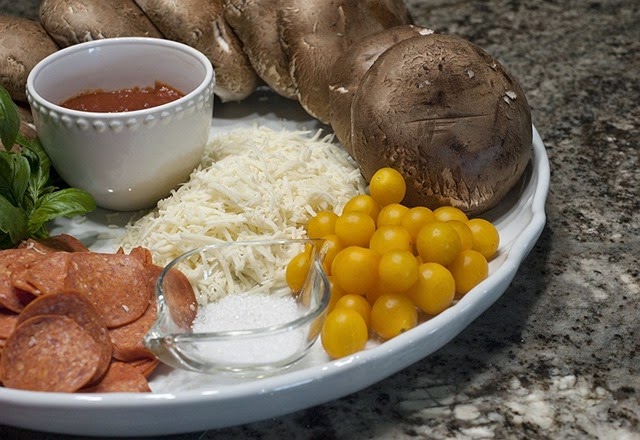
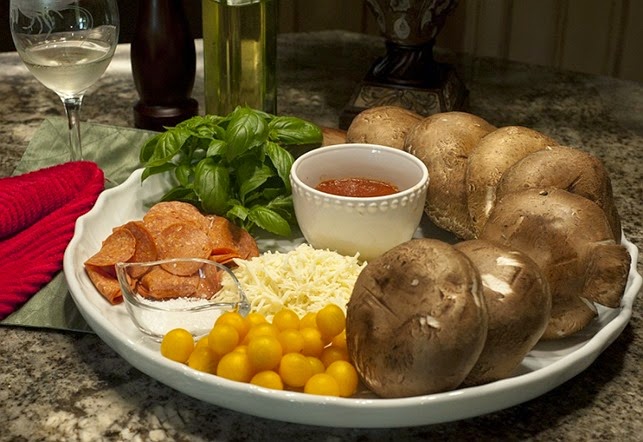
I could have easily made my own sauce but there are so many delicious ready made sauces that I picked up a tried and true brand and it didn’t disappoint. I already had the golden cherry tomatoes, they taste like fresh off the vine, home grown tomatoes and are a favorite of everyone in our family.
DSC_5136-005

I gathered the pepperoni, low fat mozzarella and a package of Italian blend cheeses from in the refrigerator. And the sea salt, pepper grinder and olive oil from the pantry.
DSC_5145-012

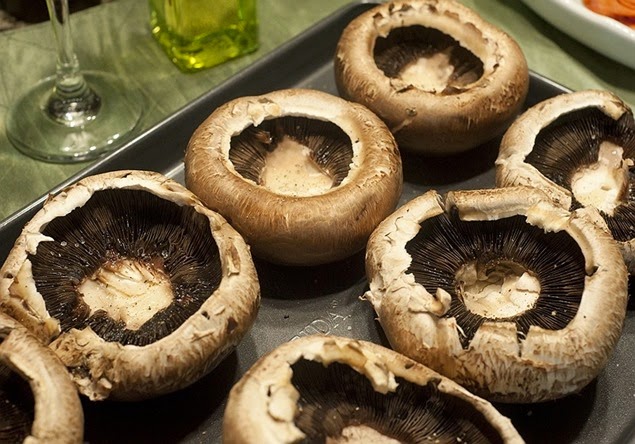
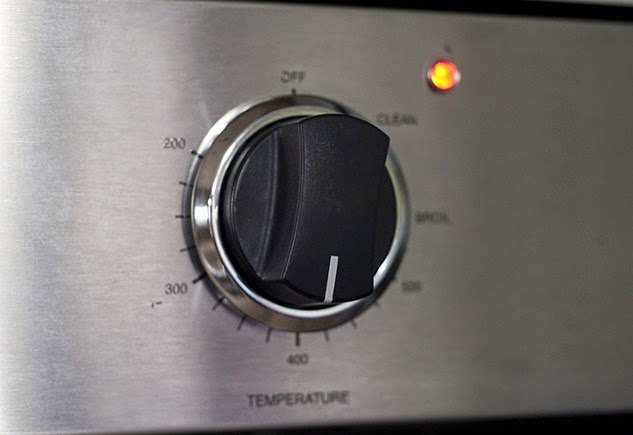
The first thing I read on all the recipes I found online was that I needed to take the stem out of the mushrooms and lay them top side down on a baking sheet pan and put them into the oven with a tiny bit of olive oil drizzled onto them in a 400 degree oven for about ten minutes. This cooking time and temperature really get the mushroom juices flowing.
DSC_5147-013

DSC_5149-014 

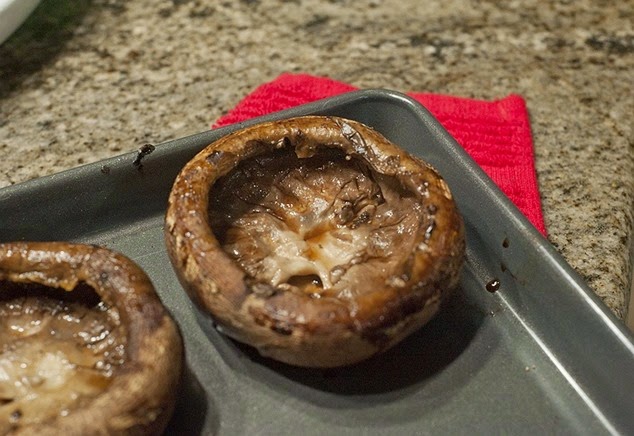
At this point I took them out and scraped the ‘gill’ looking meaty flesh out of the middles and sopped up the moisture that collected in the center with clean paper towels to help further dry the meat of the mushroom out so that the finished pizza isn’t soggy. Then I stuck them back into the oven for another ten minutes.
DSC_5162-026

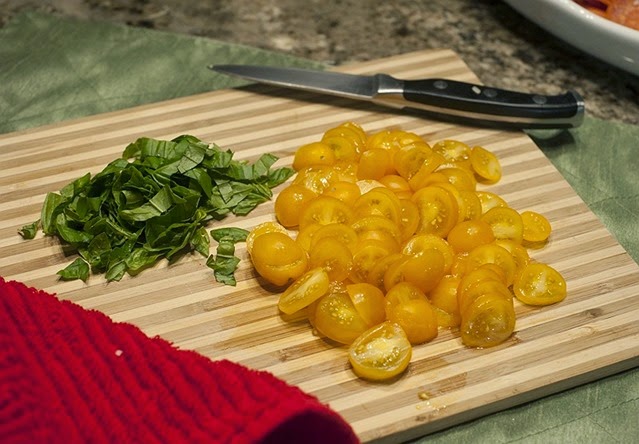
While the mushrooms were in the oven I julienned my basil and sliced up the cherry tomatoes to have them ready to add to the layers that would be our supper.
DSC_5161-025

After removing the mushrooms from the oven the second time I absorbed even more moisture that collected in the centers.  They held up really nicely because of their meatiness and smelled delicious and at this point I could have eaten them with a little olive oil and salt and pepper, but I knew the goodness to come was going to be worth the wait. I then I began assembling my pizzas.
DSC_5172-029

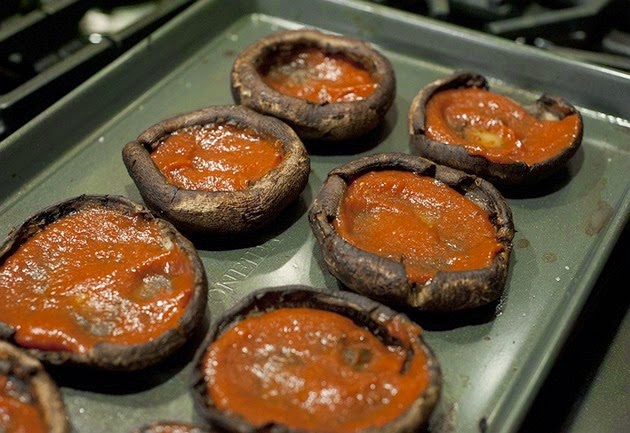
I spooned a few teaspoons of the pizza sauce into the mushrooms first, spreading it around the entire surface.
DSC_5173-030

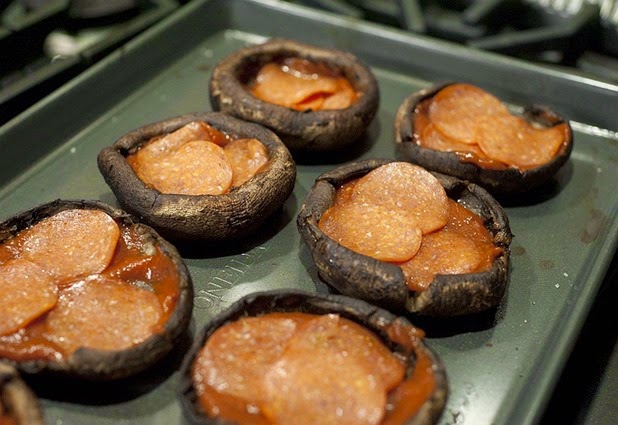
I added the pepperoni slices next, they were about an inch in diameter and layered nicely into the mushroom caps. Large pepperoni slices would have been too big for taking bites pf our pizza without pulling out the whole pepperoni slice, and that wouldn’t have been a good thing, so this worked out nicely.
DSC_5175-031

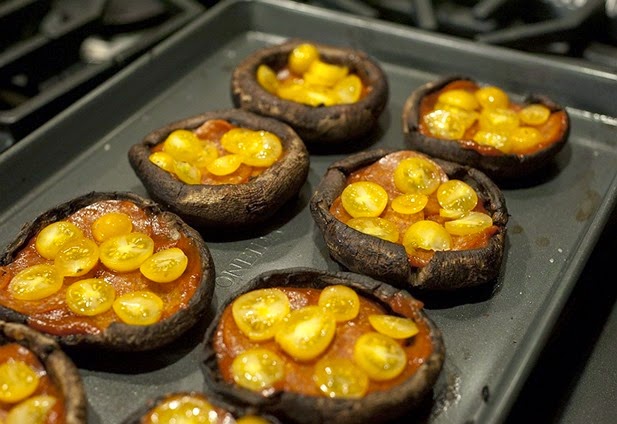
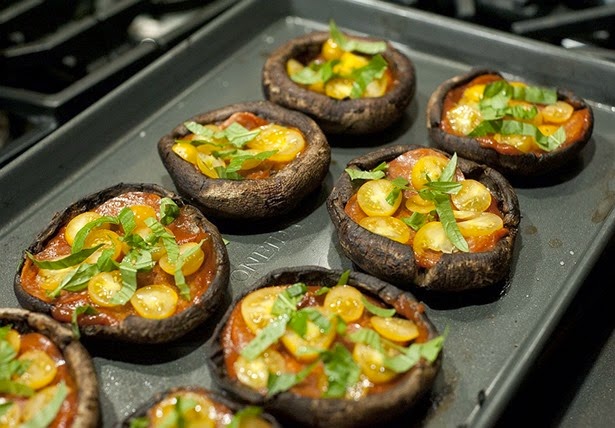
Next went the tiny slices of tomato, I loaded up on these because its one of our favorite elements in a pizza. I was pleased that I had a few more cut up then I needed and had a little snack while the pizzas were in the oven, call it luck or what have you, I called it my before supper salad.
DSC_5176-032

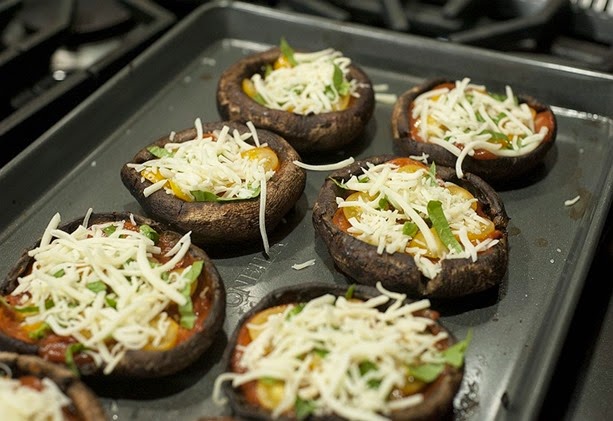
Basil was the next thing to go onto the pizza before heaping the tops with a few tablespoons of low fat cheese blend. This smelled amazing, I just love the smell of freshly chopped herbs.
DSC_5177-033

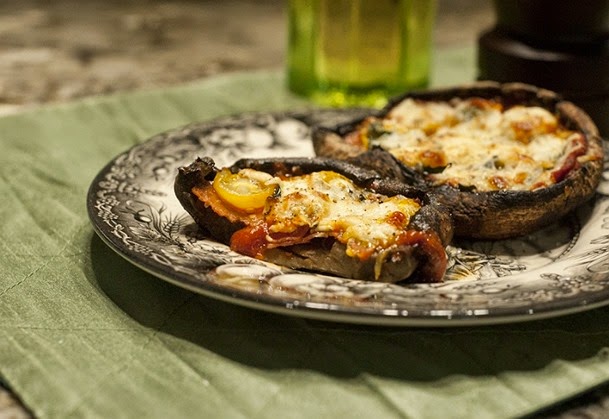
The last step before putting them into the oven was a nice sprinkling of freshly ground black pepper and a little sea salt. After another 12 minutes in the oven they came out hot and golden with delicious gooey cheese and a delicious aroma that beckoned Dave and Erica into the kitchen. It was just the three of us here for supper tonight and we all really enjoyed our meal . I look forward to making these again one day soon, next time I will get some fresh mozzarella and spinach to change it up a bit. Bon Appetite’!
DSC_5188-040

Friday, May 30, 2014

Chicken Salad Recipe

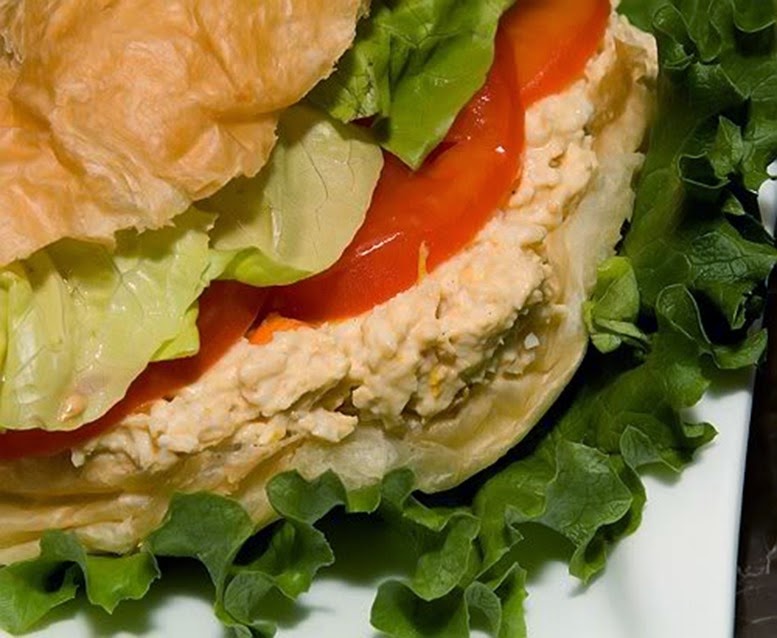
I love making chicken salad and often am asked for my recipe, I just typed it out for our DIL Claire’s mom Beki so I thought I’d share here and ‘save’ it for myself, friends and family.

chicken salad

6 large boneless chicken breasts. 1 large white onion. 1 sweet bell pepper (orange, red or yellow are sweetest). 4 stalks of celery. 3 green onions. 1/3 cup parsley. Put them into a pot and heat to boiling in 4 cups chicken broth and add water to cover chicken and chopped veggies. Salt and Pepper to taste. (I just use Tony's More Spice so its not too salty once I add the Hellman's Mayo. When it comes to a boil, turn down heat and simmer for an hour uncovered. Watch that you don't lose all your moisture, add a tiny bit of water if needed. You want the broth at the end to be about a cup and a half. Remove chicken and cool, allowing veggies to cook until you've reduced the broth. Strain the veggies and mash them up, they will be nice and tender. Add to the shredded cooled chicken along with one cup of the broth and allow the chicken to absorb the juices.  Boil a dozen eggs. Peel and separate the whites from the yolks. Chop whites and add to the bowl of shredded chicken and veggies. Mash the yolks up very well, add about 20 ounces of Hellman's Mayo, (1/3 of the medium sized jar. Our family loves it very creamy so I often add the whole jar). I add about 3 tablespoons of Delmonte Ketchup and 3 tablespoons of French's yellow mustard, mostly for color and tang to the mayo/yolk mixture. I add about 1/2 cup of the remaining broth to that before adding it to the chicken and veggies. Mix everything together and season it to taste. Refrigerate for a few hours before serving or freezing. Freezing before the mayo mixture sets into the chicken won't make it as good when you defrost it. I save any leftover broth for use in my next chicken dish, it can also be frozen in a container or in ice cube trays to add to dishes later. If you have questions, just let me know.